VIP Shipping Today Only: Super fast delivery On Sale & Quick Ship
Super fast delivery On Sale & Quick Ship
🚗Car Headlight Restoration Paste and Polishing Cream for Removing Oxidation Yellowing and Haziness
Regular price
$17.99
Regular price
$35.99
Sale price
$17.99
Sale
Sold out
HEADLIGHT RESTORATION & CARE
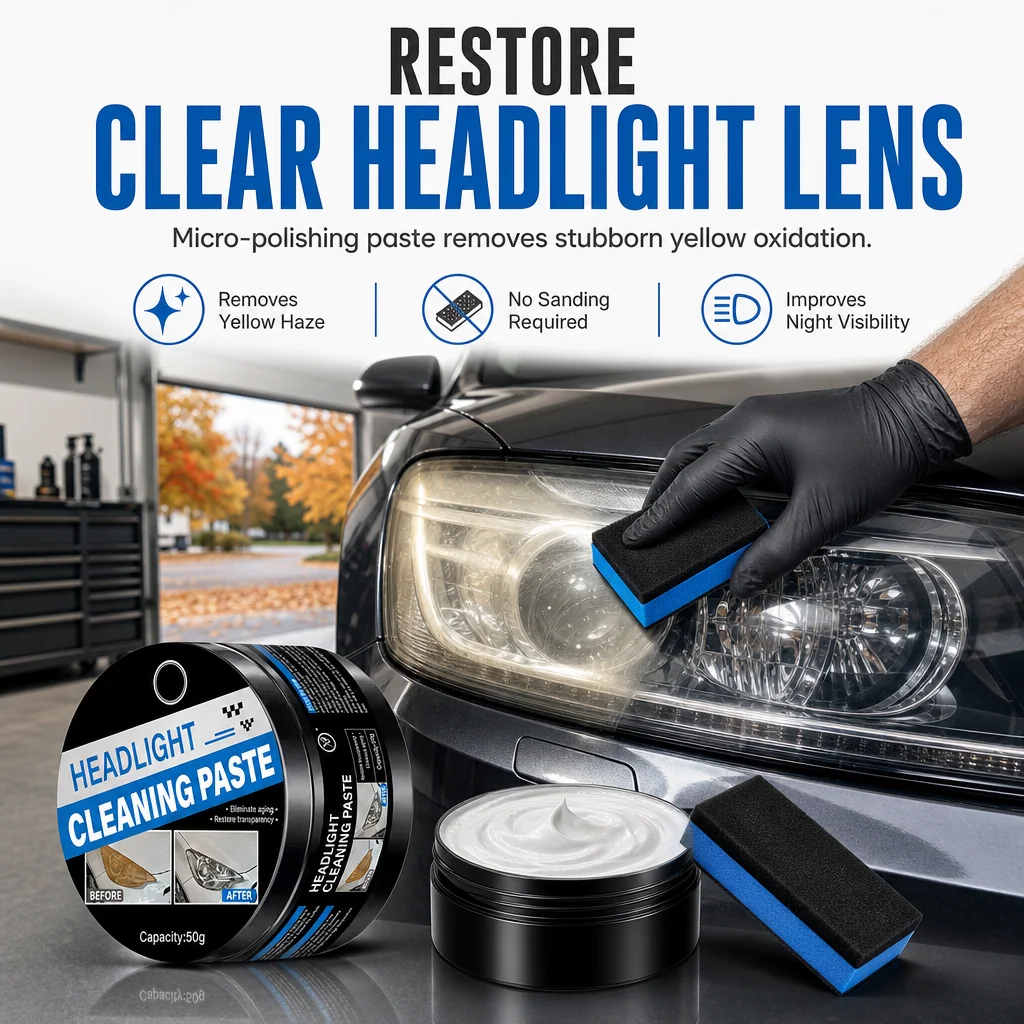
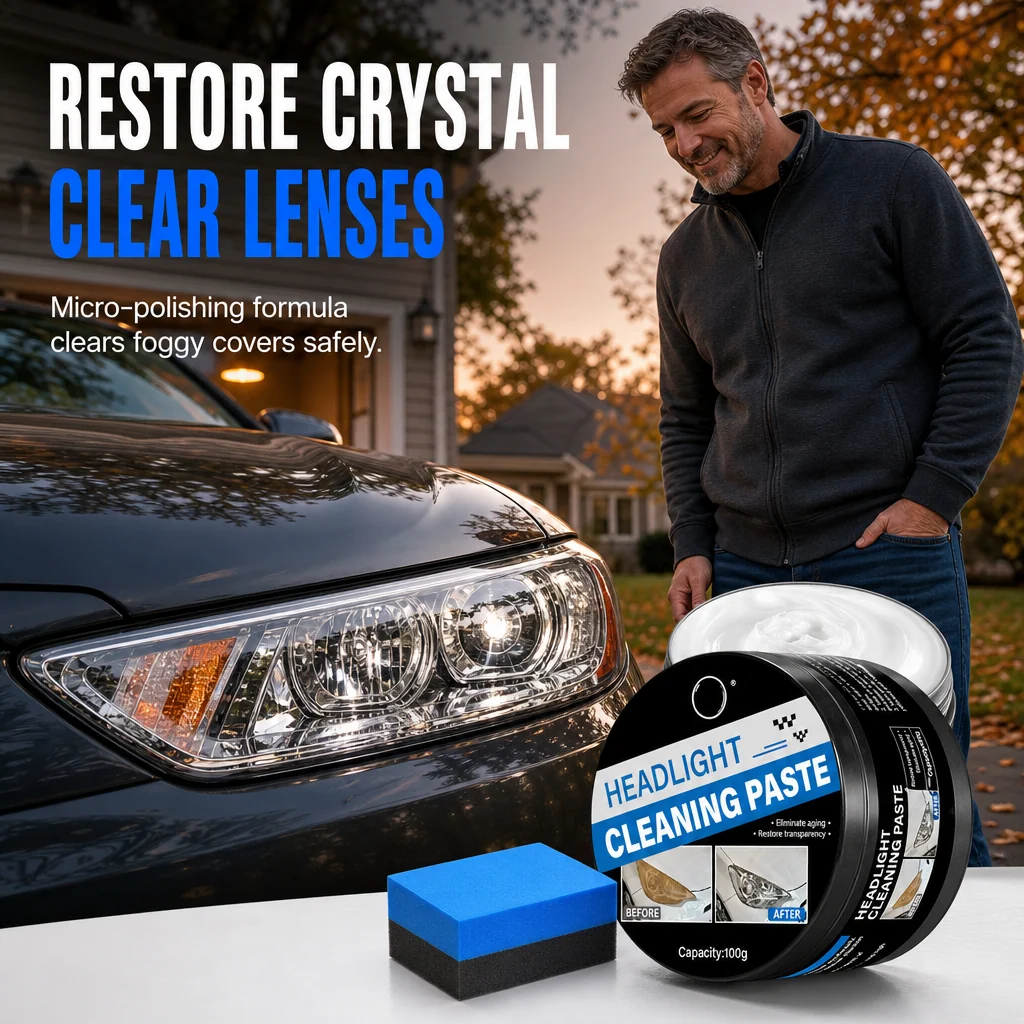
Cloudy Headlights? Bring Back the Clarity!
Refresh dull, yellowed plastic headlight lenses with an easy-to-apply polishing paste designed to help reduce surface oxidation and haze.
✓ Oxidation Care ✓ Easy DIY Application ✓ Lens Polishing
THE PROBLEM
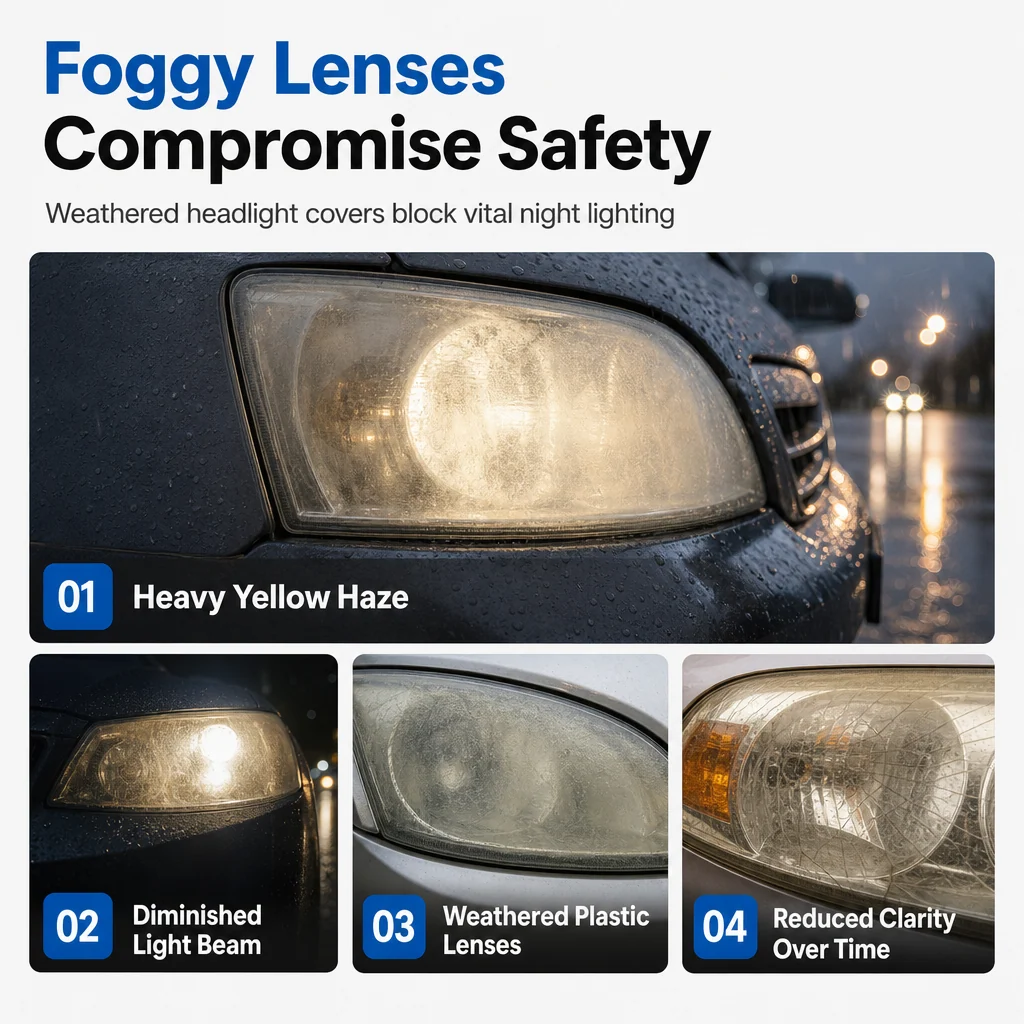
Yellow, Cloudy Headlights Make Your Car Look Older.
Sun exposure, weather, and everyday driving can leave plastic headlight covers looking hazy, faded, or yellowed.
✓
Yellowed Plastic Lenses Weathering can cause clear headlight covers to develop a yellow tint.
✓
Cloudy Surface Haze Oxidation can leave the outer surface looking dull and foggy.
✓
Worn-Looking Appearance Faded headlight covers can make an otherwise well-maintained car look older.
SIMPLE SURFACE RESTORATION
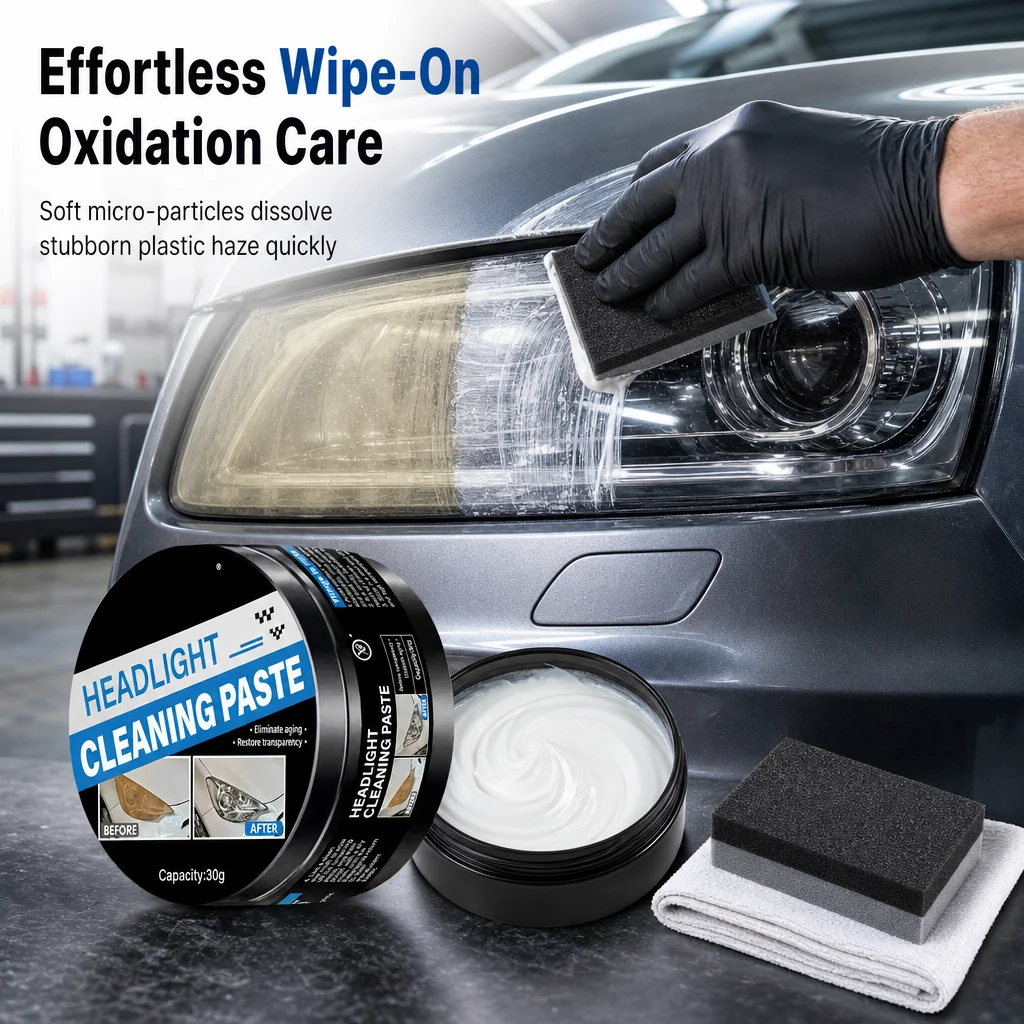
Wipe-On Polishing for Weathered Lenses.
Help address light oxidation and surface yellowing with a straightforward polishing routine. No complicated equipment is needed for basic application.
✓
Target Surface Oxidation Designed for cosmetic restoration of suitable exterior plastic lenses.
✓
Convenient Application Apply with a suitable polishing applicator and work carefully across the lens.
✓
DIY-Friendly Care A practical choice for routine headlight appearance maintenance.
Care Tip: Apply only to compatible exterior plastic headlight surfaces. Test a small area first and follow the product instructions.
SEE THE VISUAL DIFFERENCE
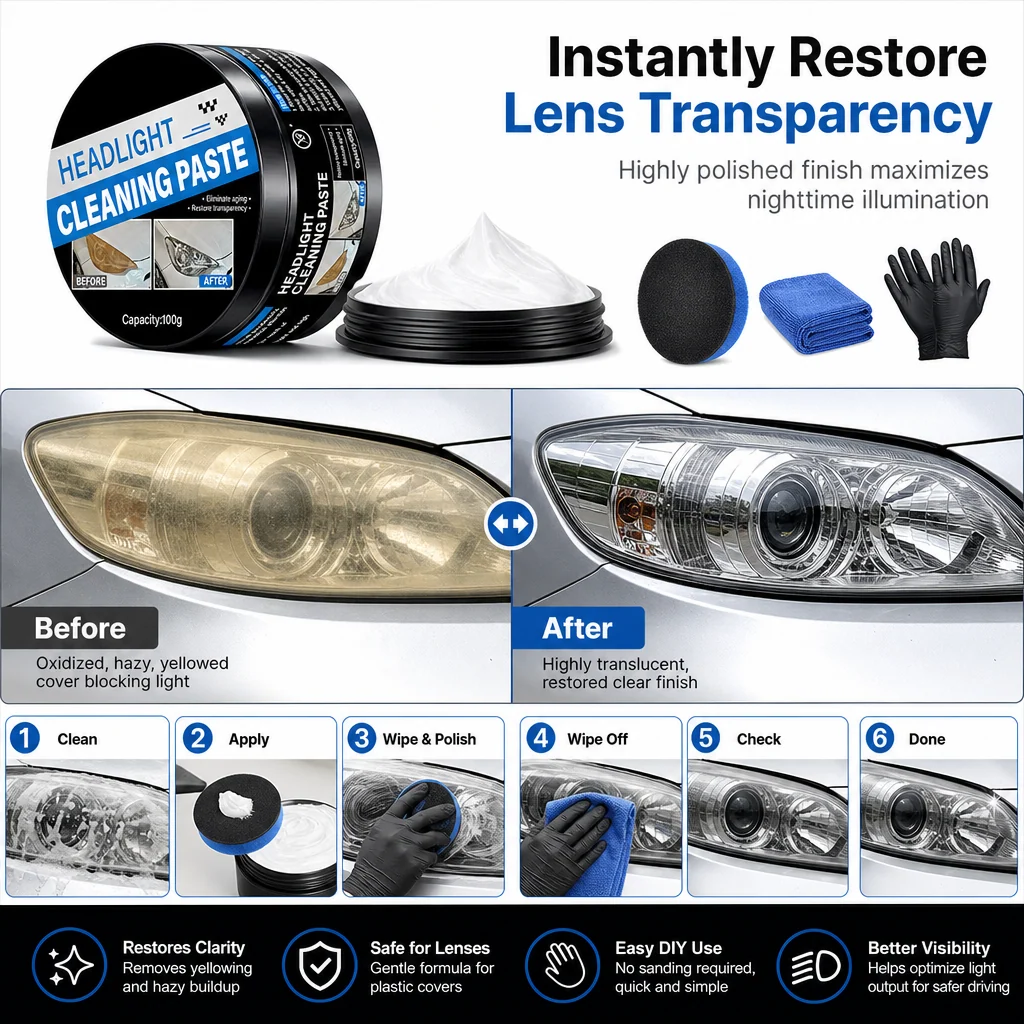
From Dull & Yellow to Clearer-Looking.
Surface polishing can help reduce the appearance of oxidation, making suitable headlight covers look cleaner and more transparent.
Actual results vary. The amount of improvement depends on oxidation depth, lens condition, and application technique. Deep scratches, cracks, and internal cloudiness may require professional headlight repair.
A Clearer-Looking Lens. A Refreshed Front End.
Give weathered headlights the attention they deserve with simple exterior lens maintenance.
RESTORE YOUR CAR'S APPEARANCE
Bring Out the Clarity of Your Headlight Covers.
A well-maintained headlight lens can make the front of your vehicle look cleaner, newer, and better cared for.
✓
Cleaner-Looking Covers Help improve the appearance of dull exterior plastic lenses.
✓
Improved Cosmetic Clarity Polishing may reduce light surface haze caused by weathering.
✓
Practical Car Maintenance A simple way to care for the visible condition of your headlights.
Driving Safety: If headlights are dim, damaged, or poorly aimed, have the lighting system inspected. Cosmetic polishing is not a substitute for replacing faulty headlights.
EASY POLISHING ROUTINE
Use a Soft Applicator for Controlled Polishing.
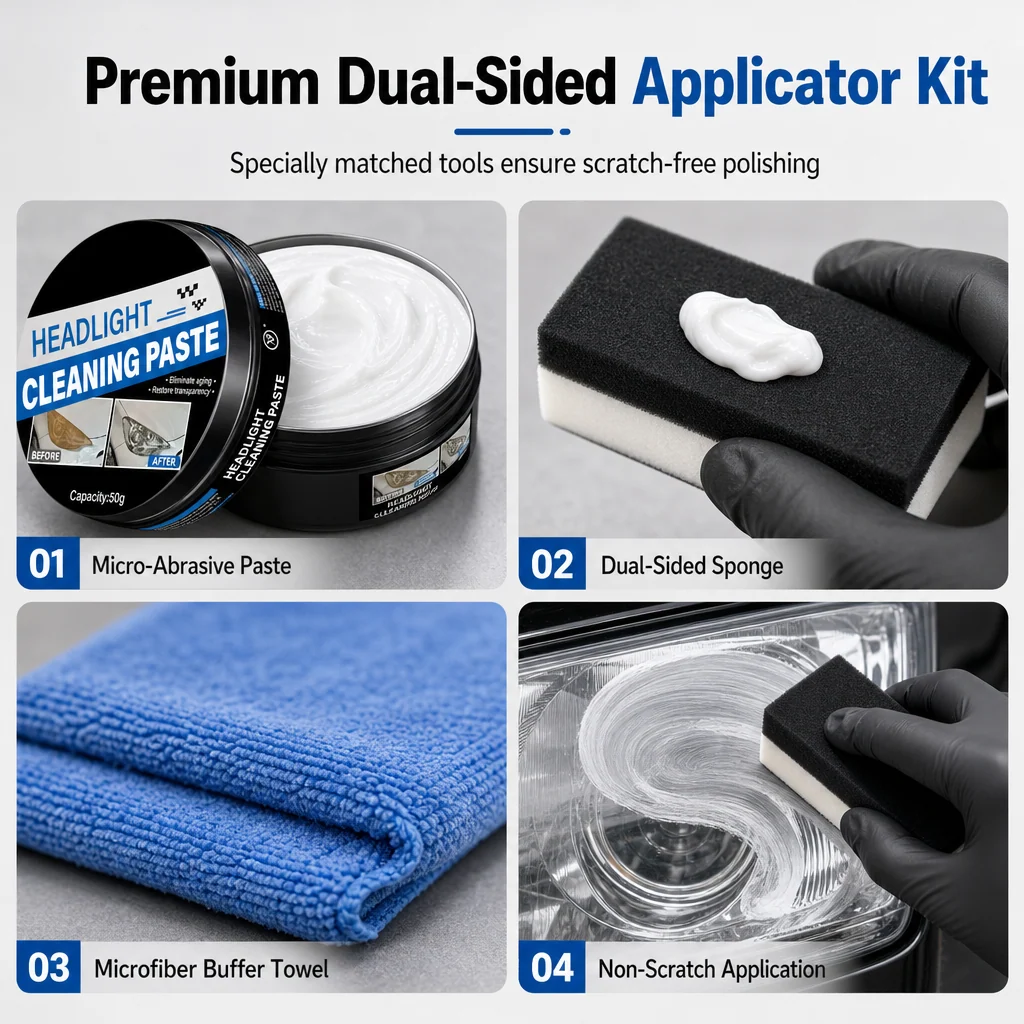
A suitable sponge applicator and microfiber cloth can make the polishing process easier to control.
✓
Gentle Application Use a suitable applicator to distribute polish across the lens.
✓
Controlled Polishing Work in small sections using light, even pressure.
✓
Clean Buffing Finish Wipe away excess product using a clean microfiber cloth.
Clean. Apply. Gently Buff.
Refreshing exterior headlight lenses doesn't have to be complicated. Follow these basic steps and the directions printed on your product.
1
Clean & Dry
Wash away dirt, dust, and grit from the exterior headlight lens. Dry thoroughly.
2
Apply the Paste
Place a small amount on a suitable applicator. Test a hidden area, then polish gently as directed.
3
Buff & Inspect
Remove excess paste with a clean, soft microfiber cloth. Inspect the finish before repeating any application.
Important: Keep polish away from painted trim, rubber seals, and sensitive coatings. Protect surrounding surfaces when necessary. Avoid excessive rubbing.
PRODUCT INFORMATION
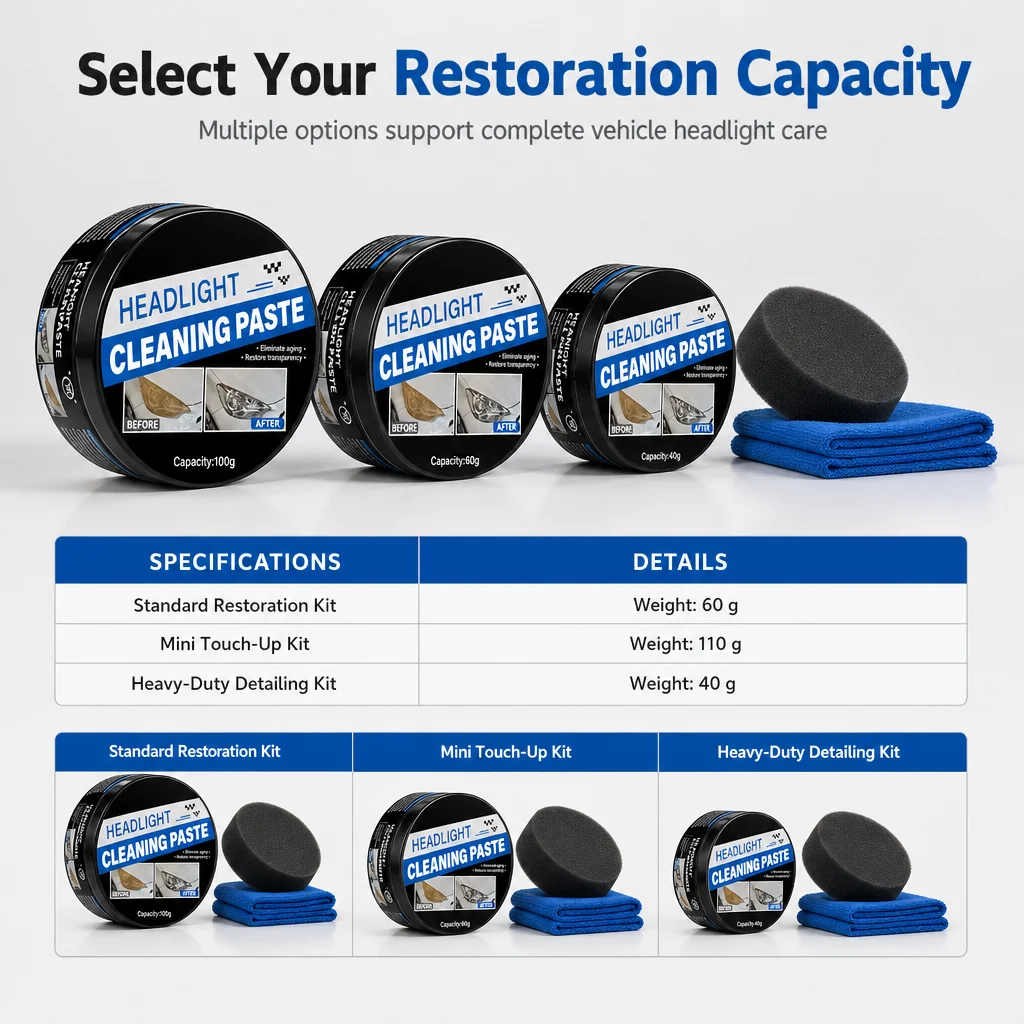
30g、50g、100g Headlight Restoration Paste.
A convenient polishing paste for cosmetic maintenance of suitable exterior plastic headlight lenses.
Product Type Headlight Restoration & Oxidation Care Paste
Net Weight 30g, 50g, 100g
Primary Application Cosmetic polishing of compatible exterior plastic headlight lenses
Please Note: Product appearance may vary slightly due to lighting and screen settings.
KNOW BEFORE YOU APPLY
Designed for Surface Oxidation & Haze.
Understanding the condition of your headlights helps you choose the right maintenance approach.
✓
Light Yellowing Helps address cosmetic oxidation on suitable exterior lenses.
✓
Surface Cloudiness Polishing may improve light haze on the outside of the lens.
✓
Routine Appearance Care A practical addition to regular vehicle detailing supplies.
Not a Structural Repair: This paste cannot repair broken lenses, internal condensation, deep cracks, defective bulbs, or damaged electrical components. Severely weathered lenses may require additional refinishing and UV protection.
The headlights on my older car have started looking hazy. A polishing paste seems like a reasonable option to try for light oxidation, after checking the instructions and testing a small area.
E
Elliot Montgomery
Worth trying on light yellowing
My headlight lenses have a yellow tint from years outside. I would follow the directions carefully and see whether this product is suitable for the type of plastic on my car.
Thanks for sharing. Please confirm the paste is suitable for your headlight lens material and test a small area before wider use.
R
Renee Wallace
Check the lens material first
I like the idea of a product made for headlight restoration, but I would confirm it is compatible with my lens material before applying it.
B
Bradley Sutton
A weekend car care job
I have been meaning to tidy up the headlights before winter. The paste format looks manageable for a small DIY project, and I would use the recommended applicator.
M
Marlene Foster
For headlights that look dull
The lenses are not badly damaged, just a bit dull and cloudy. A polishing cream could be useful for this kind of surface maintenance if used as directed.
K
Keith Donovan
Read the preparation steps
I would clean the headlight first, mask the surrounding paint and follow the application instructions. Taking a little time to prepare should help avoid a mess.
A
Alana Pierce
A practical item for the garage
I keep basic car-care supplies on a shelf, and a headlight polish would fit in with them. I would check what tools are included before ordering.
D
Dwayne Fletcher
Good to manage expectations
This sounds more suitable for oxidation and surface haze than deep cracks or serious lens damage. I would not expect paste to fix structural problems.
C
Cynthia Reeves
Could freshen up an older car
The headlights on our second car have lost some clarity over time. I am interested in a simple maintenance product, provided it is suitable for the lenses.
Thanks for pointing that out. This type of product is intended for compatible surface haze and oxidation, not cracked or structurally damaged lenses.
M
Mitchell Harper
Mask the area before polishing
I would cover the paint around the headlight before starting. That seems like an easy step to prevent polishing residue from getting onto nearby trim.
J
Janelle Brooks
The instructions will matter
I would want clear directions on how much paste to use, how long to polish and how to wipe it off. Those details are important for a tidy result.
R
Ross McKenzie
A small DIY project
I prefer trying straightforward maintenance before booking a larger job. This looks like something I could use carefully on a headlight with mild haze.
T
Tara Caldwell
For cloudy lenses after years outside
Sun exposure has made the plastic lenses look a little tired. A product intended for oxidation seems worth considering, as long as it matches the lens type.
L
Leonard Hayes
Check whether extra tools are needed
Before buying, I would check if a microfiber cloth or polishing pad is included, or if I need to get those separately.
M
Molly Whitaker
Useful to keep with car supplies
The container looks easy to store with my other detailing products. I would keep the lid closed and follow the storage guidance on the label.
G
Gerard Ellis
A careful approach for plastic lenses
Since most headlight covers are plastic, I would confirm the product is designed for that surface and avoid using rough pads unless the instructions say to.
N
Nadine Porter
Might help with light surface oxidation
There are some dull patches on the lenses, but no cracks. I would try a small section first and compare the finish once it is fully wiped clean.
S
Shawn Barrett
Good to check the finish in daylight
I would inspect the headlights outside after polishing rather than judging them under garage lighting. It is easier to see any remaining haze in daylight.
E
Elise Warren
A useful pre-winter touch-up
I like checking lights and wipers before colder weather. Cleaning up cloudy headlight lenses is one of those small jobs I have been putting off.
D
Damon Chandler
Not a replacement for damaged lenses
For badly scratched or cracked headlights, I would look at professional repair or replacement. A polishing paste seems intended for surface-level issues.
B
Bethany Rhodes
Simple product to consider
The application sounds fairly straightforward, which appeals to me. I would still read the full directions and use it only on compatible headlight surfaces.
C
Craig Lawson
Could improve the look of the front end
Cloudy headlights make an older car look more worn than it is. I am interested in a careful polish to see if the lenses can look clearer.
Y
Yvette Monroe
Take time with each headlight
I would work on one lens at a time and avoid rushing the polishing. It seems easier to keep track of the result that way.
G
Gavin McBride
Check if a sealant step is recommended
I would look at whether the instructions recommend any protective finish after polishing. It is useful to know the full process before getting started.
K
Kendra Walsh
For a car that sits outside
My car is parked outdoors most of the time, and the headlights have gradually become cloudy. A product for oxidation is relevant to that kind of wear.
P
Philip Mercer
Keep the surrounding trim clean
I would use masking tape around the headlight and have a clean cloth ready. Small preparation steps make these jobs easier to manage.
L
Lori Bennett
A sensible option for minor haze
The lenses have a light cloudy look rather than deep damage. I would consider a polishing cream for that, while keeping expectations realistic.
T
Trevor Coleman
Check the product directions for application
I would follow the recommended pressure and polishing time instead of scrubbing hard. The goal is to treat the surface without causing extra marks.
J
Janice Vaughn
Handy for occasional car detailing
I do a basic clean of the car every few weeks, so a headlight polish could be useful to have around for occasional upkeep.
W
Wesley Grant
Compare both headlights after use
I would work carefully and compare the two lenses in the same lighting. That should make it easier to judge whether the finish looks more even.
Choosing a selection results in a full page refresh.